Linking a Payment/Donation Gravity Form to Profiler (using the Plugin)
When using Gravity Forms, with WordPress, you will need to link up the gravity form fields to those in Profiler using the Profiler WordPress Plugin. This KB article will show you how to match up your form fields for a payment form.
Gravity Forms Side
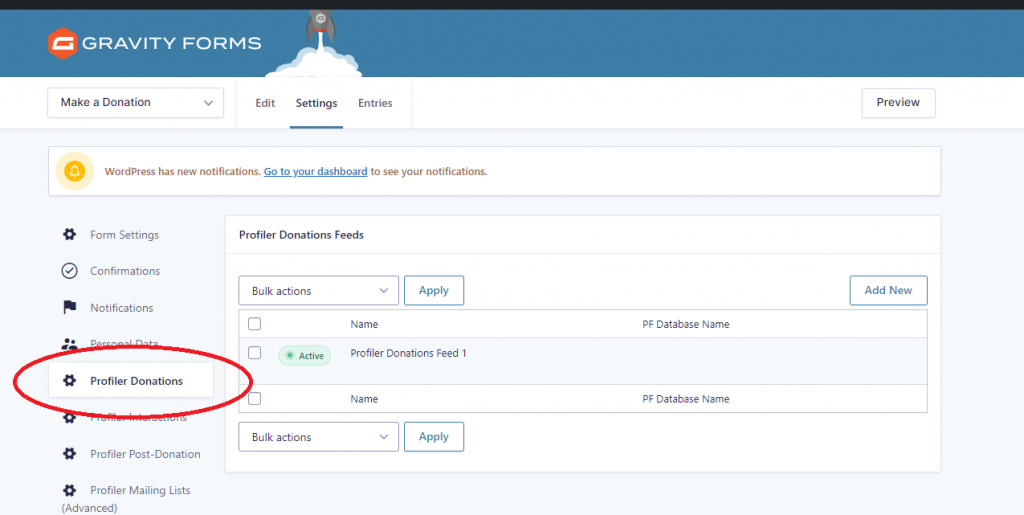
From Gravity Forms Settings for your form, select Profiler Donations on the left hand side. If there is no feed created in this section for this form, you need to Add A New One.
There is a lot of fields that are not needed for most sites, however there is no one size fits all solution. You can contact Profiler Support for specific advice should you get stuck.
Feed Name – this is just an internal name, and the default is usually okay.
Profiler Instance Domain Name – this is the domain name you use to access Profiler. You DO NOT need to add the https:// or any other slashes. **Example: **demo.profilersystem.com
**Profiler API Key **and API Password – as per above, you can find these values on the **API **module home screen in Profiler, and you can copy and paste these values directly to Gravity Forms.
Profiler Errors Email Address – if for some reason the form cannot process, you should put an email address in here to be notified on any issues as clients are putting through the form.
**Use Profiler As a Gateway **– in most cases this will be set to YES and Profiler will use the payment gateways as defined internally (at Setup > Payments > Bank Accounts + Gateway), linked to the source codes – if you are using Stripe (or another Gravity Form plugin) you would say No – for example Stripe setup information is here
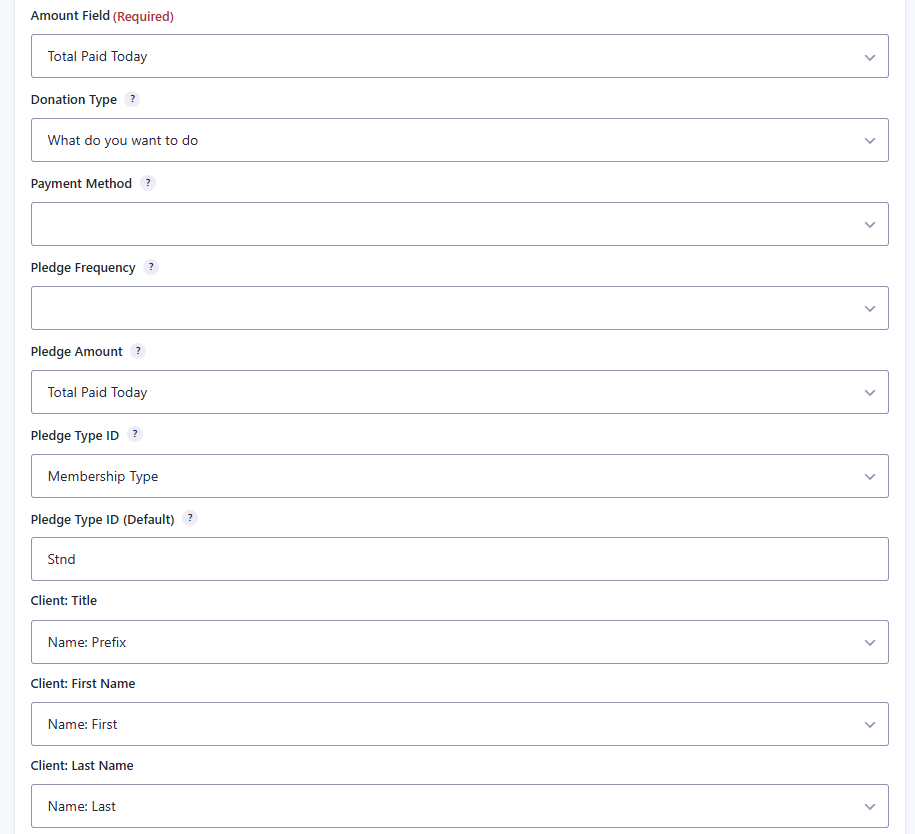
The next section is about mapping the fields in your Gravity Form.Amount Field – this is the field in your form that has the total amount of the transaction
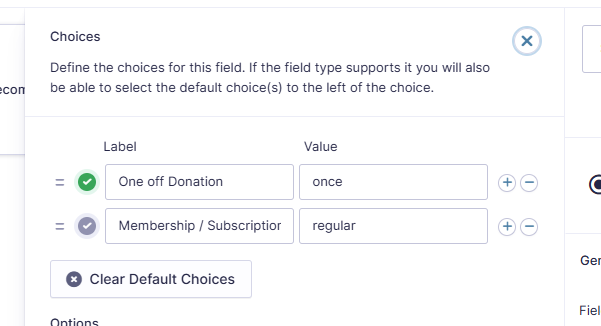
Donation Type – this value needs to be once (if it is a one off payment) or **regular **(if it is a subscription or regular gift), you can set this as a Hidden Field with the value of the above or a drop/down radio type button (if the form does multiple things). You need to select the field that holds this value here. (example below)
Payment Method – this needs to be a field that contains the value of **creditcard, bankdebit **or paypal if you are offering multiple payment types on your field. However, if it is just credit card payments, you can leave this field un-assigned, and Profiler will presume it is a credit card payment.
Pledge Frequency – this can be left blank for one off payments, however for regular payments this value should be “daily”, “monthly” or “yearly” – which is the period that the regular payment will be deducted.
Pledge Amount – this can be left blank for one off payments, but is the amount for regular payments (per time)
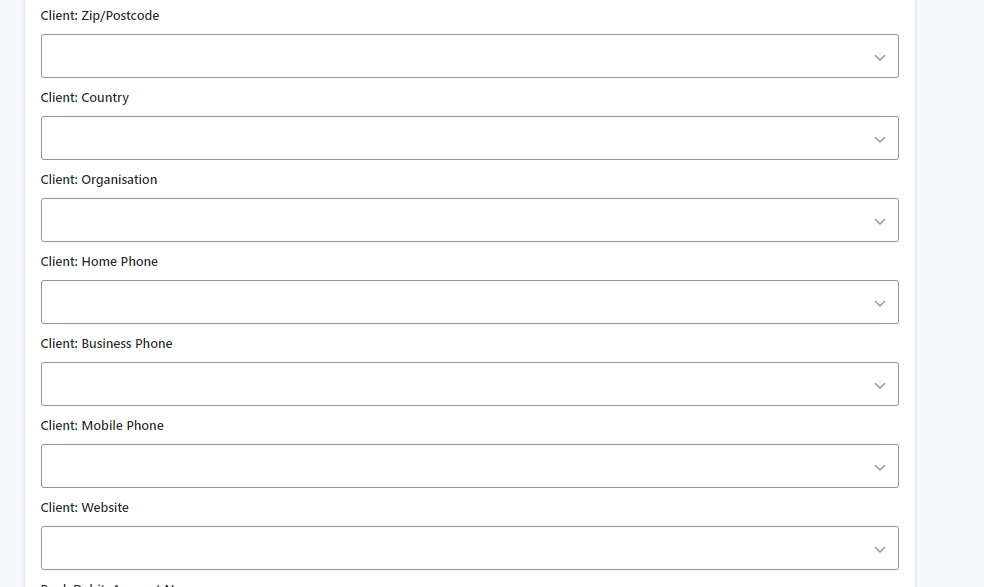
- Title, First Name, Last Name, Email, Address, City, Zip/Postcode, Country, Organisation, Home Phone, Business Phone, Mobile Phone, Website – are all the fields in Profiler that can optionally be mapped up to fields on your Gravity Form. At minimum you will need First Name, Last Name and Email Address
The more data you collect on your form, the more Profiler will be able to match to existing clients
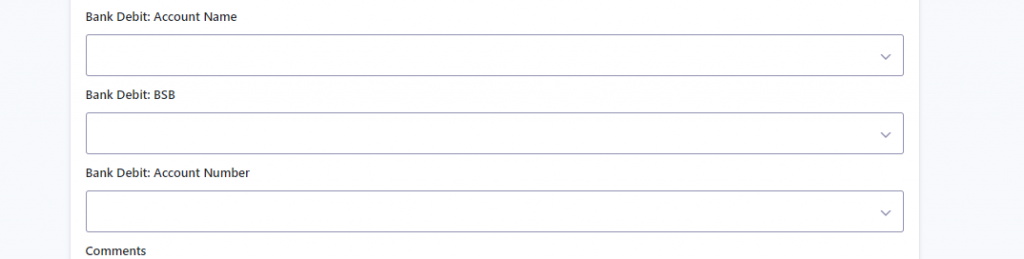
- If you are offering BSB/Direct Debit fields for your payment, you can match them up using the **Bank Debit Account Name, Bank Debit BSB **and Bank Debit Account Number fields. If you are not using Bank Debit, you can leave this blank
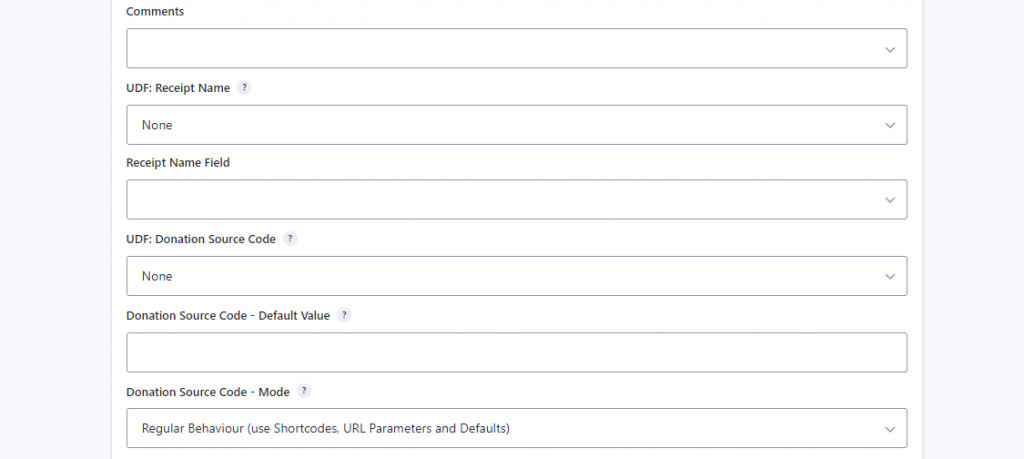
**Comments **allows you to match a comment field on your form to the comments field for the payment/membership in Profiler.
Extra Comments Text **– **this is extra data from any Gravity Forms field(s) that will also be included in the above Comments field.
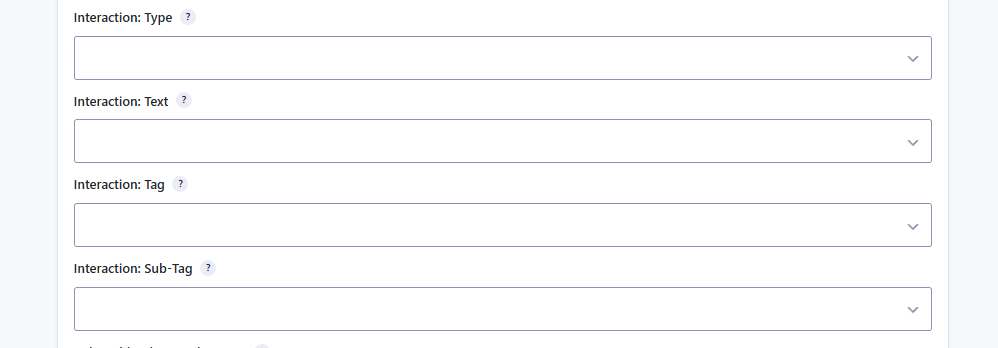
Interaction Type – if you wish an interaction to be created, this is the type of interaction as defined in Profiler in Setup > Client > Integration Types – this would be set as a hidden field value in your form and the field assigned here.
**Interaction Text **– if you wish specific text to be recorded as a interaction, select the field from the field here
Interaction Tag / Sub-Tag – if you wish the interaction to be tagged (from the values in Setup > Client > Interaction Tags) then you would set the values here. Often they are hidden fields in your form and assigned here

**Role Name **– if you wish a role to be added to a client, but the name of the role (not the ID) you would set the role onto a field (often hidden) on your form and set that field here.
**Role ID **– the same as above, however, using the role ID. These values are found in Setup > Client > Roles
Receipt Name **field **if you wish to send a field for the receipt name to Profiler (ie. allow the client to specify their receipt name). If not specified Profiler will use the logic for firstname/surname or organisation.

Donation Source Code – Default Value – this is the source code you want for any Donation/Gift payments to go through this form to be sent to Profiler as.
Donation Source Code – Mode – you can manually specify the source code from the list of drop-down, or leave it for Normal Behaviour (default)

The Pledge/Regular Section is similar to the Payment/Gift section but in this situation regards the Membership.**Pledge Source Code – Default Value **– can be left blank for one-off-payments
Pledge Source Code – Mode – leave this as default for one-off-payments
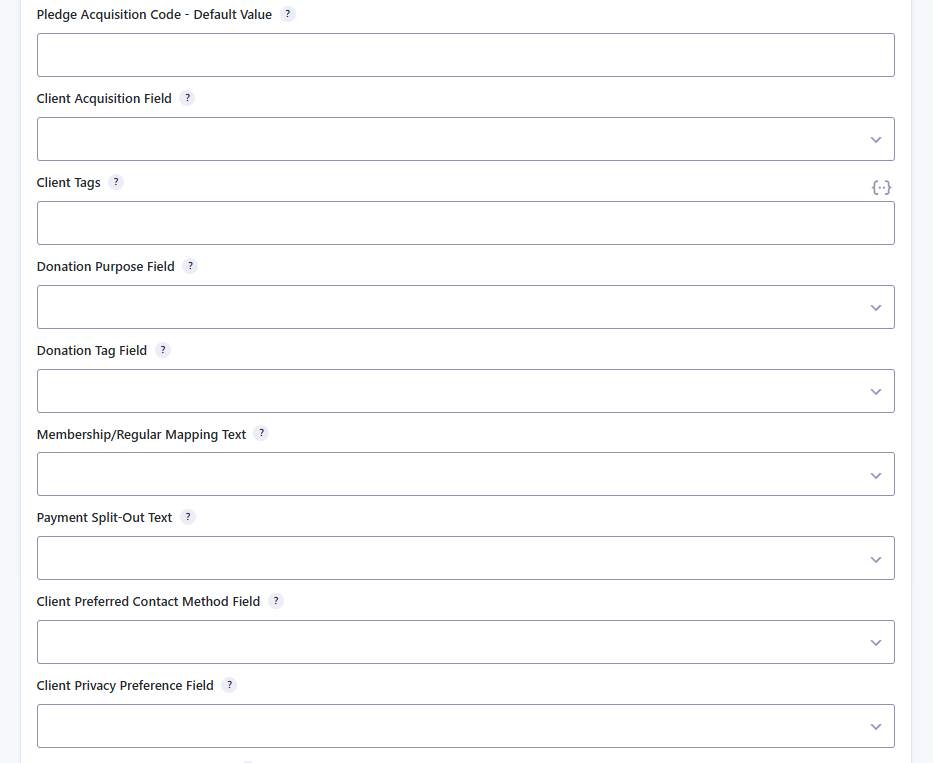
**Pledge Acquisition Code **– this is the value passed to Profiler for the acquired reason for a regular payment. This has to be a value as set in Setup > Regular Payments > Acquired Codes
**Client Acquisition Field – **this is a field in the form (often hidden) that has the value of any clients that are new to the organisation, they will be added to Profiler with this reason. This value should match up to a value on Setup > Client > Acquired Reasons
**Client Tags – **if you want tags to be added to clients as they come through the form to RAPID, you can set the tags here. You can add multiple tags separated by a comma. The tags must be in the Setup > Client > Client Tags
**Donation Purpose Field – **if you are setting a purpose for a payment (as set in Setup > Payment > Payment Purposes) you would select the field value in the field here. Often a hidden field in your gravity form.
**Donation Tag Field **– if you want a payment to be tagged with a specific tag that has come through this form, you can select the field value here (often a hidden field on your gravity form) the value of the field value must match Setup > Payment > Payment Tags
**Membership/Regular Mapping Text **– if you are using Membership Mappings you can setup the field which holds this text for the map here from a list of your fields.
**Payment Split Out Text **– if you are using a payment split in Profiler, you can set the value from your gravity forms to be passed to here.
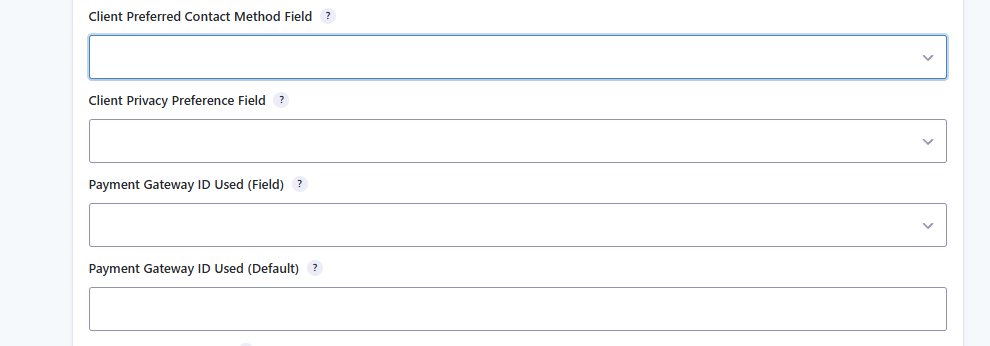
**Client Preferred Contact Method **– if you wish to set the contact preferred method for a client that is handled through this form, you can select the form with the value in here.
**Client Privacy Preference Field **– if you wish to set a client privacy you can set the value in a gravity field and then set this.
Payment Gateway ID Used (Field or Default) if you need to specify a specific payment gateway ID (Setup > Payments > Accounts) – you can do that here. By default Profiler will follow the source code, however this will only work if the earlier Use Profiler As a Gateway is set as YES

Number of Mailing Lists – if you wish the client to subscribe to mailing lists as part of this transaction, you can set this value to the number of mailing lists you are bringing across, scroll to the bottom and hit Save, the page will then refresh allowing you to set those value maps
Number of Custom Fields – this is the number of fields on your form that are custom data and that you want to bring across to Profiler. You can set this number, and scroll to the bottom and hit save, Profiler will then update the screen to allow the mapping (described below)
When you have finished all the settings, click Save Settings and the form will update with the values, ready for testing.
Custom Field Data
More and more we are finding that custom fields are needed to bring across to Profiler from web-forms. After you have defined your custom fields (Setup > Client > Custom Fields) and you on your Gravity Forms you have the fields ready to collect data, you need to tell the plugin/settings how to map the data across.

In your Gravity Form settings, set the **Number of Custom Fields **you will be bringing across from WordPress to Profiler (you can always go back and adjust this further) and scroll down and hit Save Changes

WordPress will then add 2 fields for every custom field. You need to tell it what Gravity Form Field has the data, and what Profiler **User Defined Field (UDF) **that value will be set in. Select the Field from the Gravity Forms Field dropdown list, and then select the UDF field.

Then go to **Profiler **and in the **Setup > Integration > User Defined Fields **and select the Custom field equivalent in Profiler. All the custom fields start with Custom: in the first part of the drop-down. The instructions for the field maps are here